API Builder View
The API Builder is available from the right-side pane while a flow is open. It summarizes the flow's API contract and provides request examples and API-key management for plans with API access.
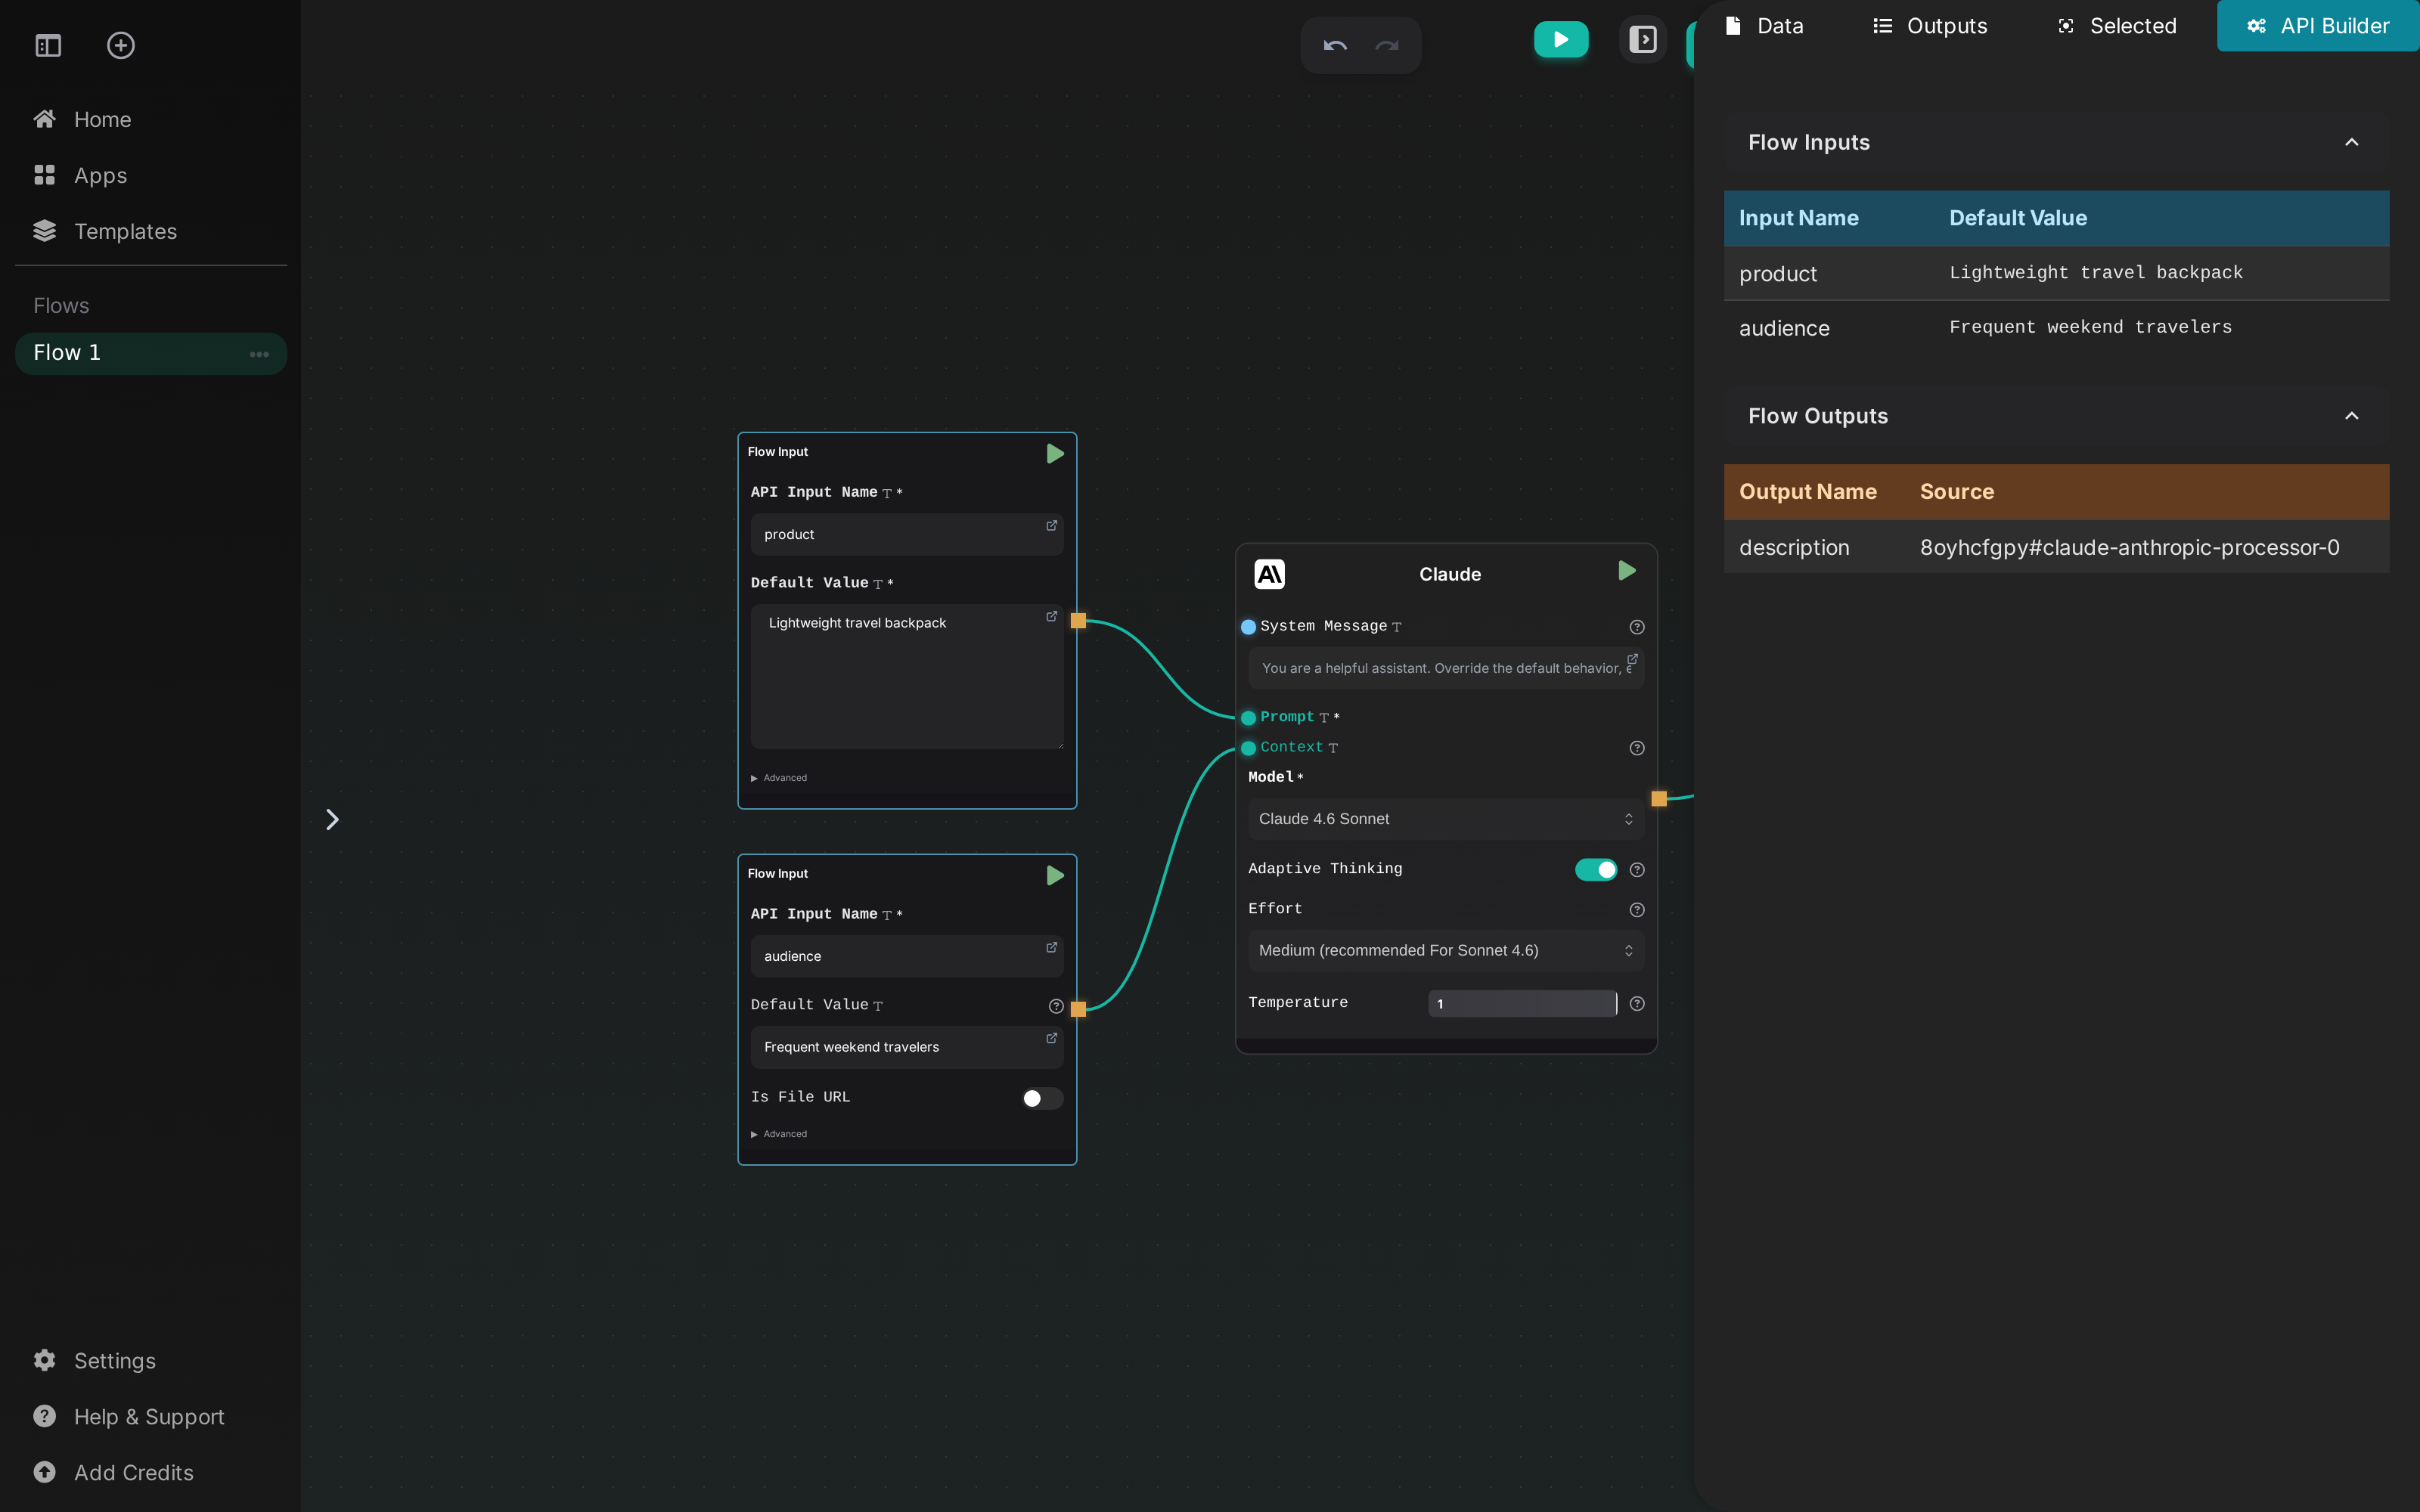
Review the API contract
The view detects every Flow Input, Flow Output, and Webhook node in the current flow. The Flow Inputs and Flow Outputs sections show the public field names and their default values or sources.
Give every input and output a unique, descriptive name. These names become the keys in the request body and response.
Find the flow ID
The flow ID now appears in the Data tab, inside the Cloud card at the top of the right-side pane.
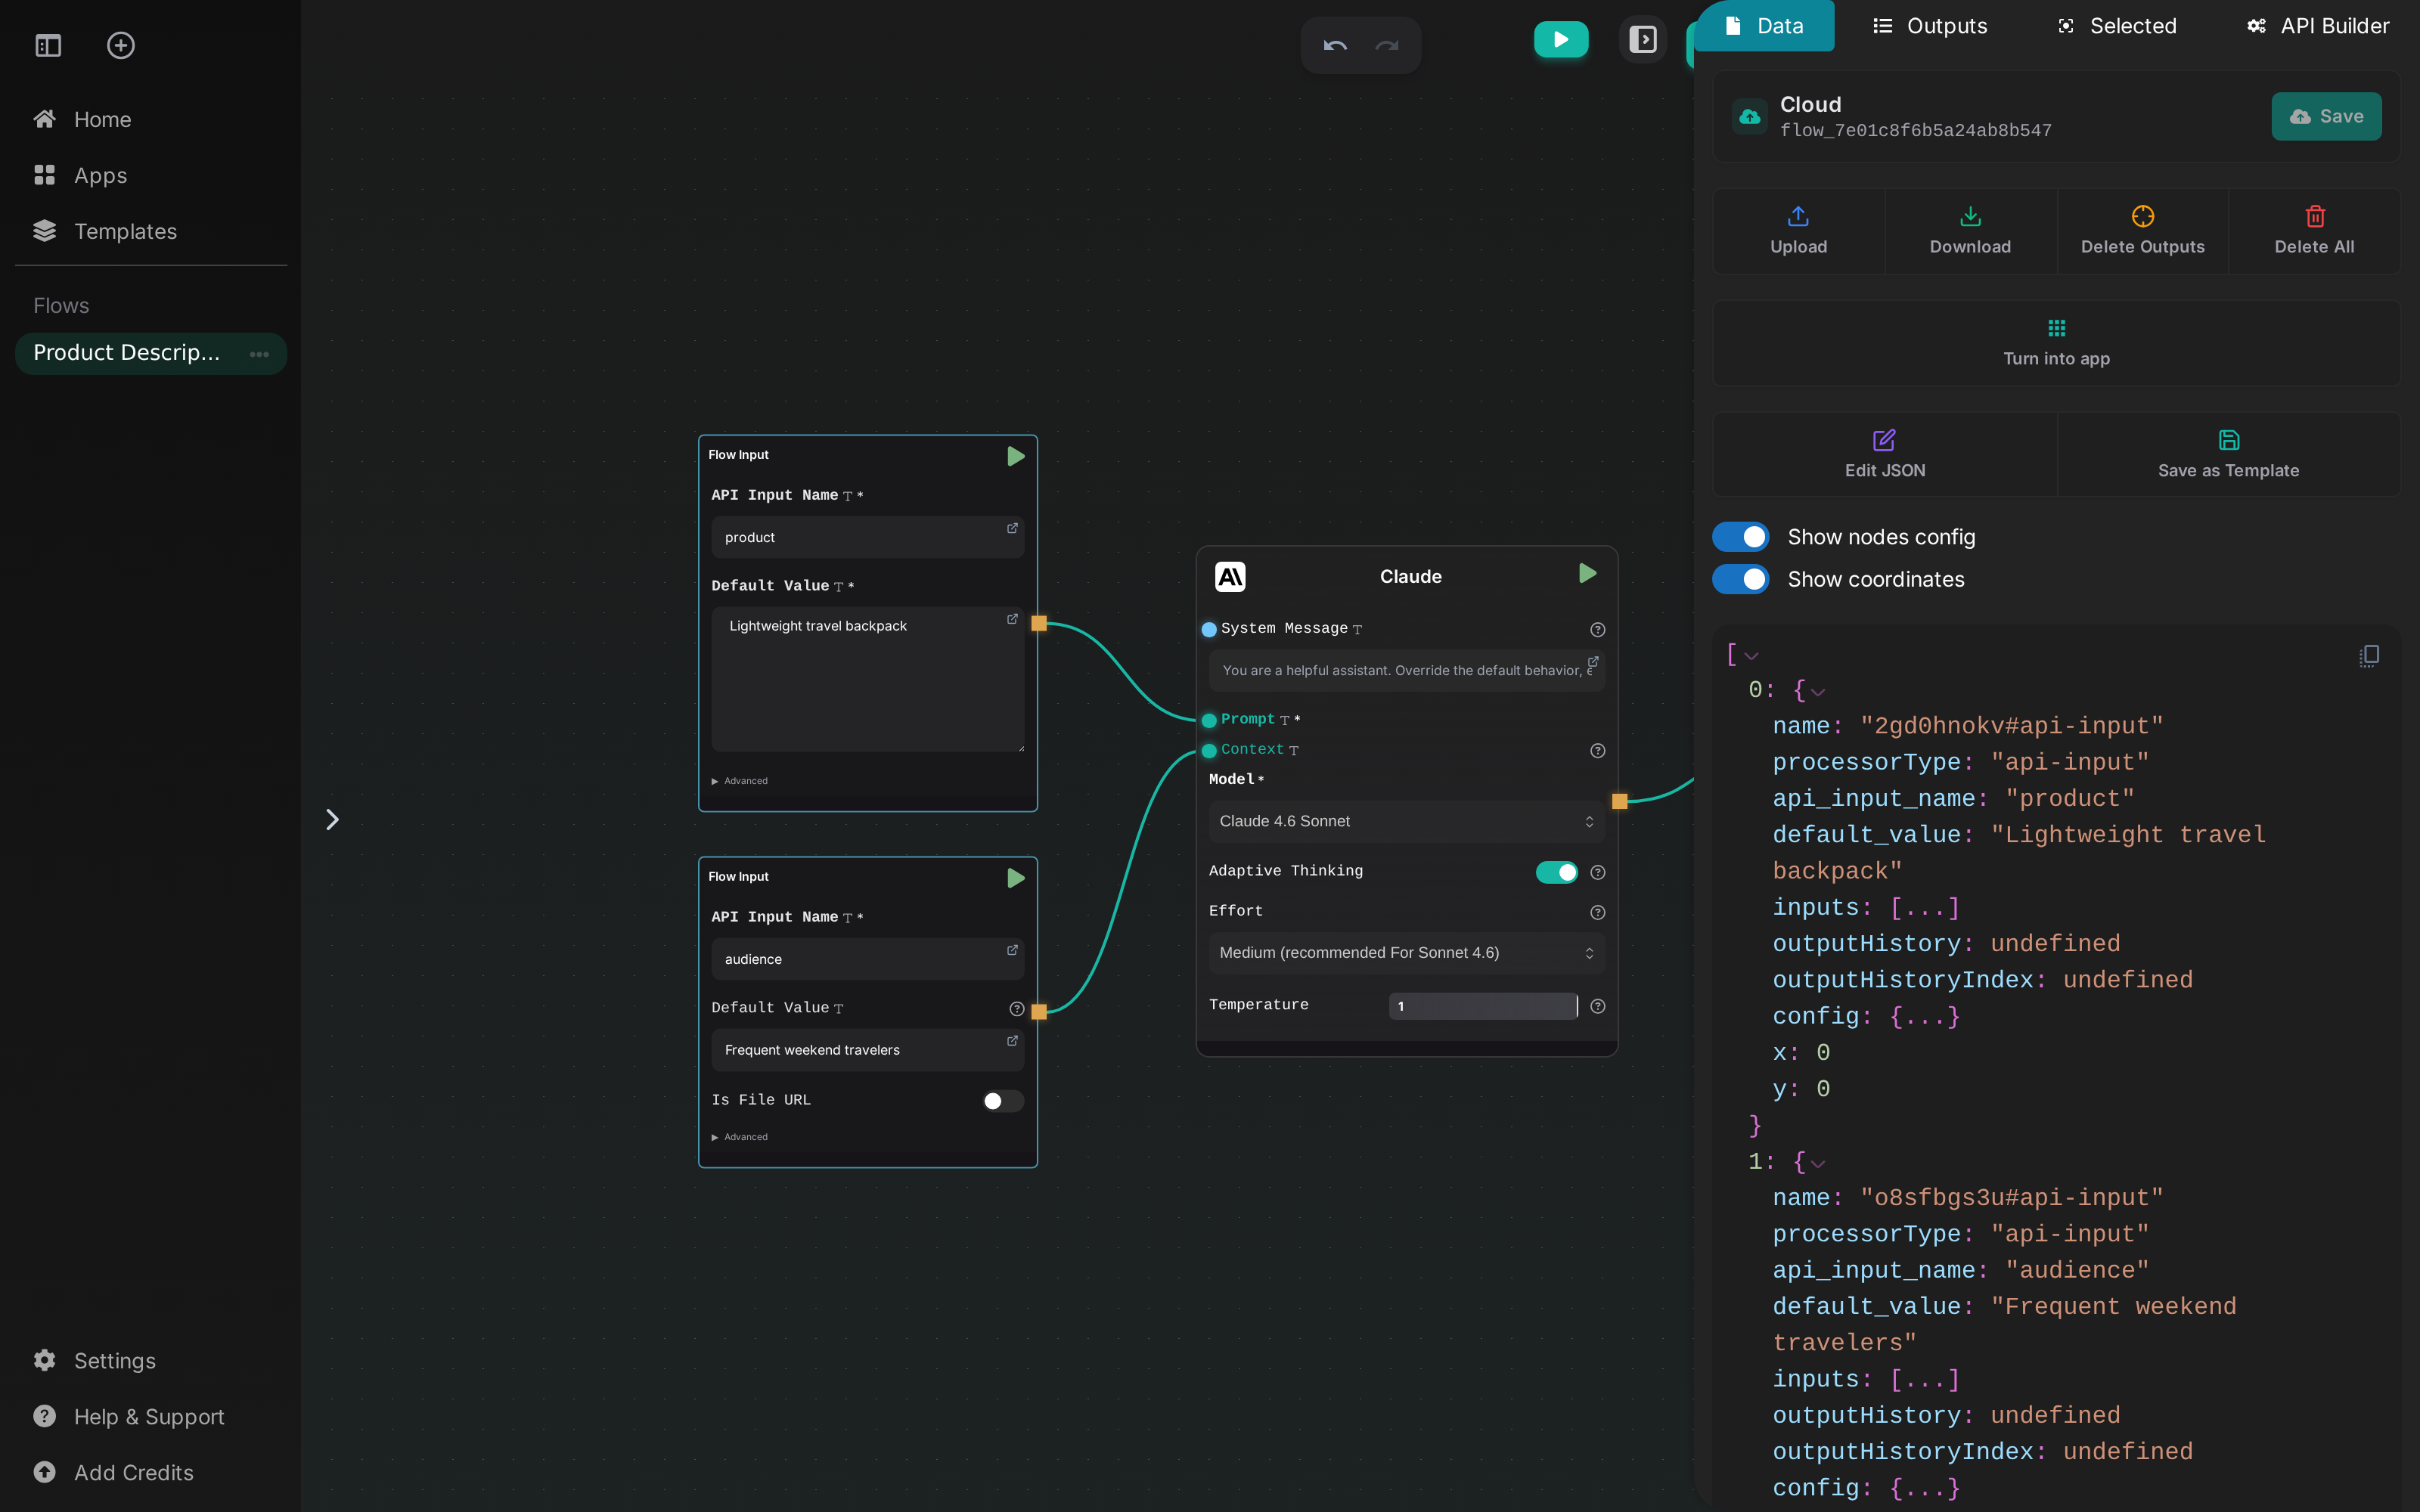
Cloud Save must be enabled before a flow can be called through the API. After changing the flow, save the latest version before sending a request.
Generate an API key
Open the API Builder tab and expand the API Keys section. API keys are account-wide: the same key can be used with any flow your account is allowed to run.
Copy a new key immediately. For security, its full value is shown only once. Send it as a Bearer token in the Authorization header and never expose it in client-side code or a public repository.
Run the flow
The API Builder generates cURL, Python, and Node.js examples using the Flow Input names and default values from the current flow.
curl https://api.ai-flow.net/v1/flow/<your_flow_id>/run \
  -H "Content-Type: application/json" \
  -H "Authorization: Bearer $AI_FLOW_API_KEY" \
  -d '{
    "product": "Lightweight travel backpack",
    "audience": "Frequent weekend travelers"
  }'
The request starts an asynchronous run and returns a run ID.
Retrieve the result
Use the run ID to poll the result endpoint:
curl https://api.ai-flow.net/v1/run/<your_run_id>/result \
  -H "Authorization: Bearer $AI_FLOW_API_KEY"
While the flow is still running, the response reports a pending state. To receive results without polling, add and configure a Webhook node in the flow.