Getting Started (5 min)
In five minutes, you will open a ready-made workflow, understand how data moves through it, and know which AI-Flow feature to use for your next project. You do not need to install anything or build a flow from scratch.
If you only want a result, start with an App. If you want to inspect or customize the workflow, start with a Template.
0:00 — Open AI-Flow
Go to app.ai-flow.net. The home page gives you three useful starting points:
- Create Flow opens a blank visual canvas.
- Explore Apps opens focused tools with simple input forms.
- Templates provide complete workflows that you can preview and customize.
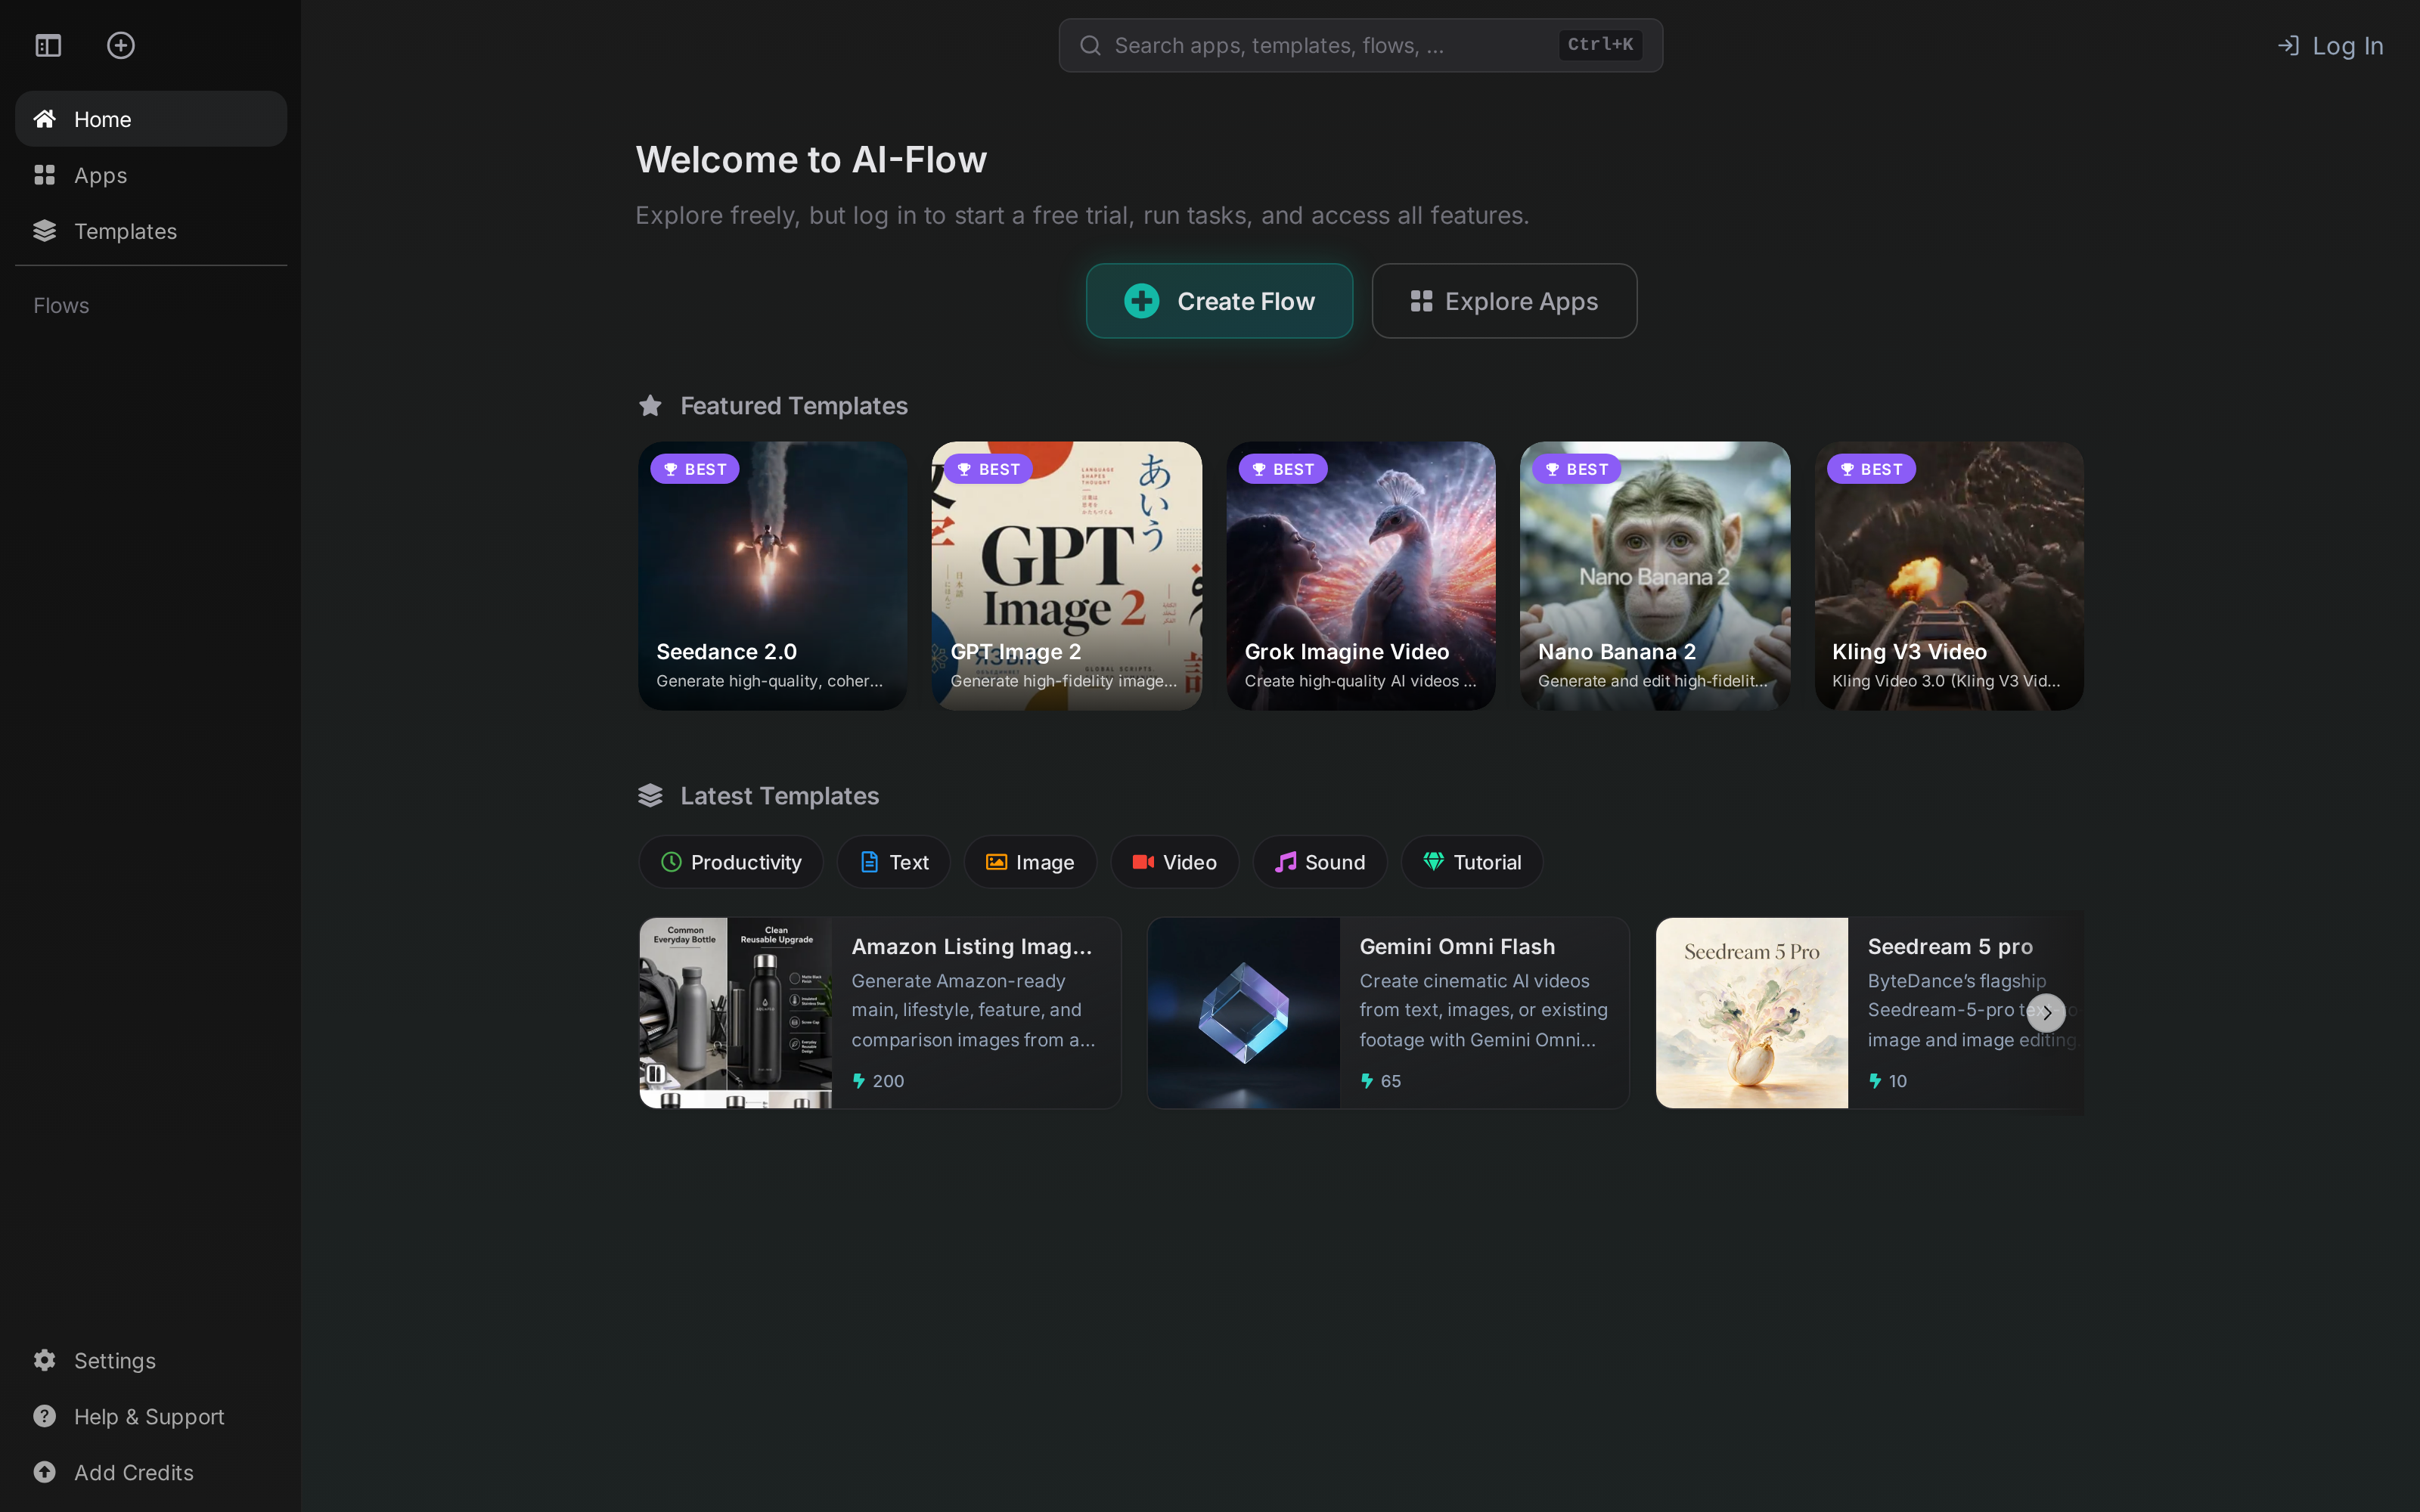
You can explore the catalog before signing in. Sign in when you are ready to run models or keep your work synchronized.
0:30 — Run an App
Select Explore Apps, choose a category, and open an App. Apps hide the workflow canvas and show only the inputs needed for one task.
- Complete the required fields.
- Review the displayed credit estimate or provider requirement.
- Select the action button to run the App.
- Download or reuse the result from the output panel.
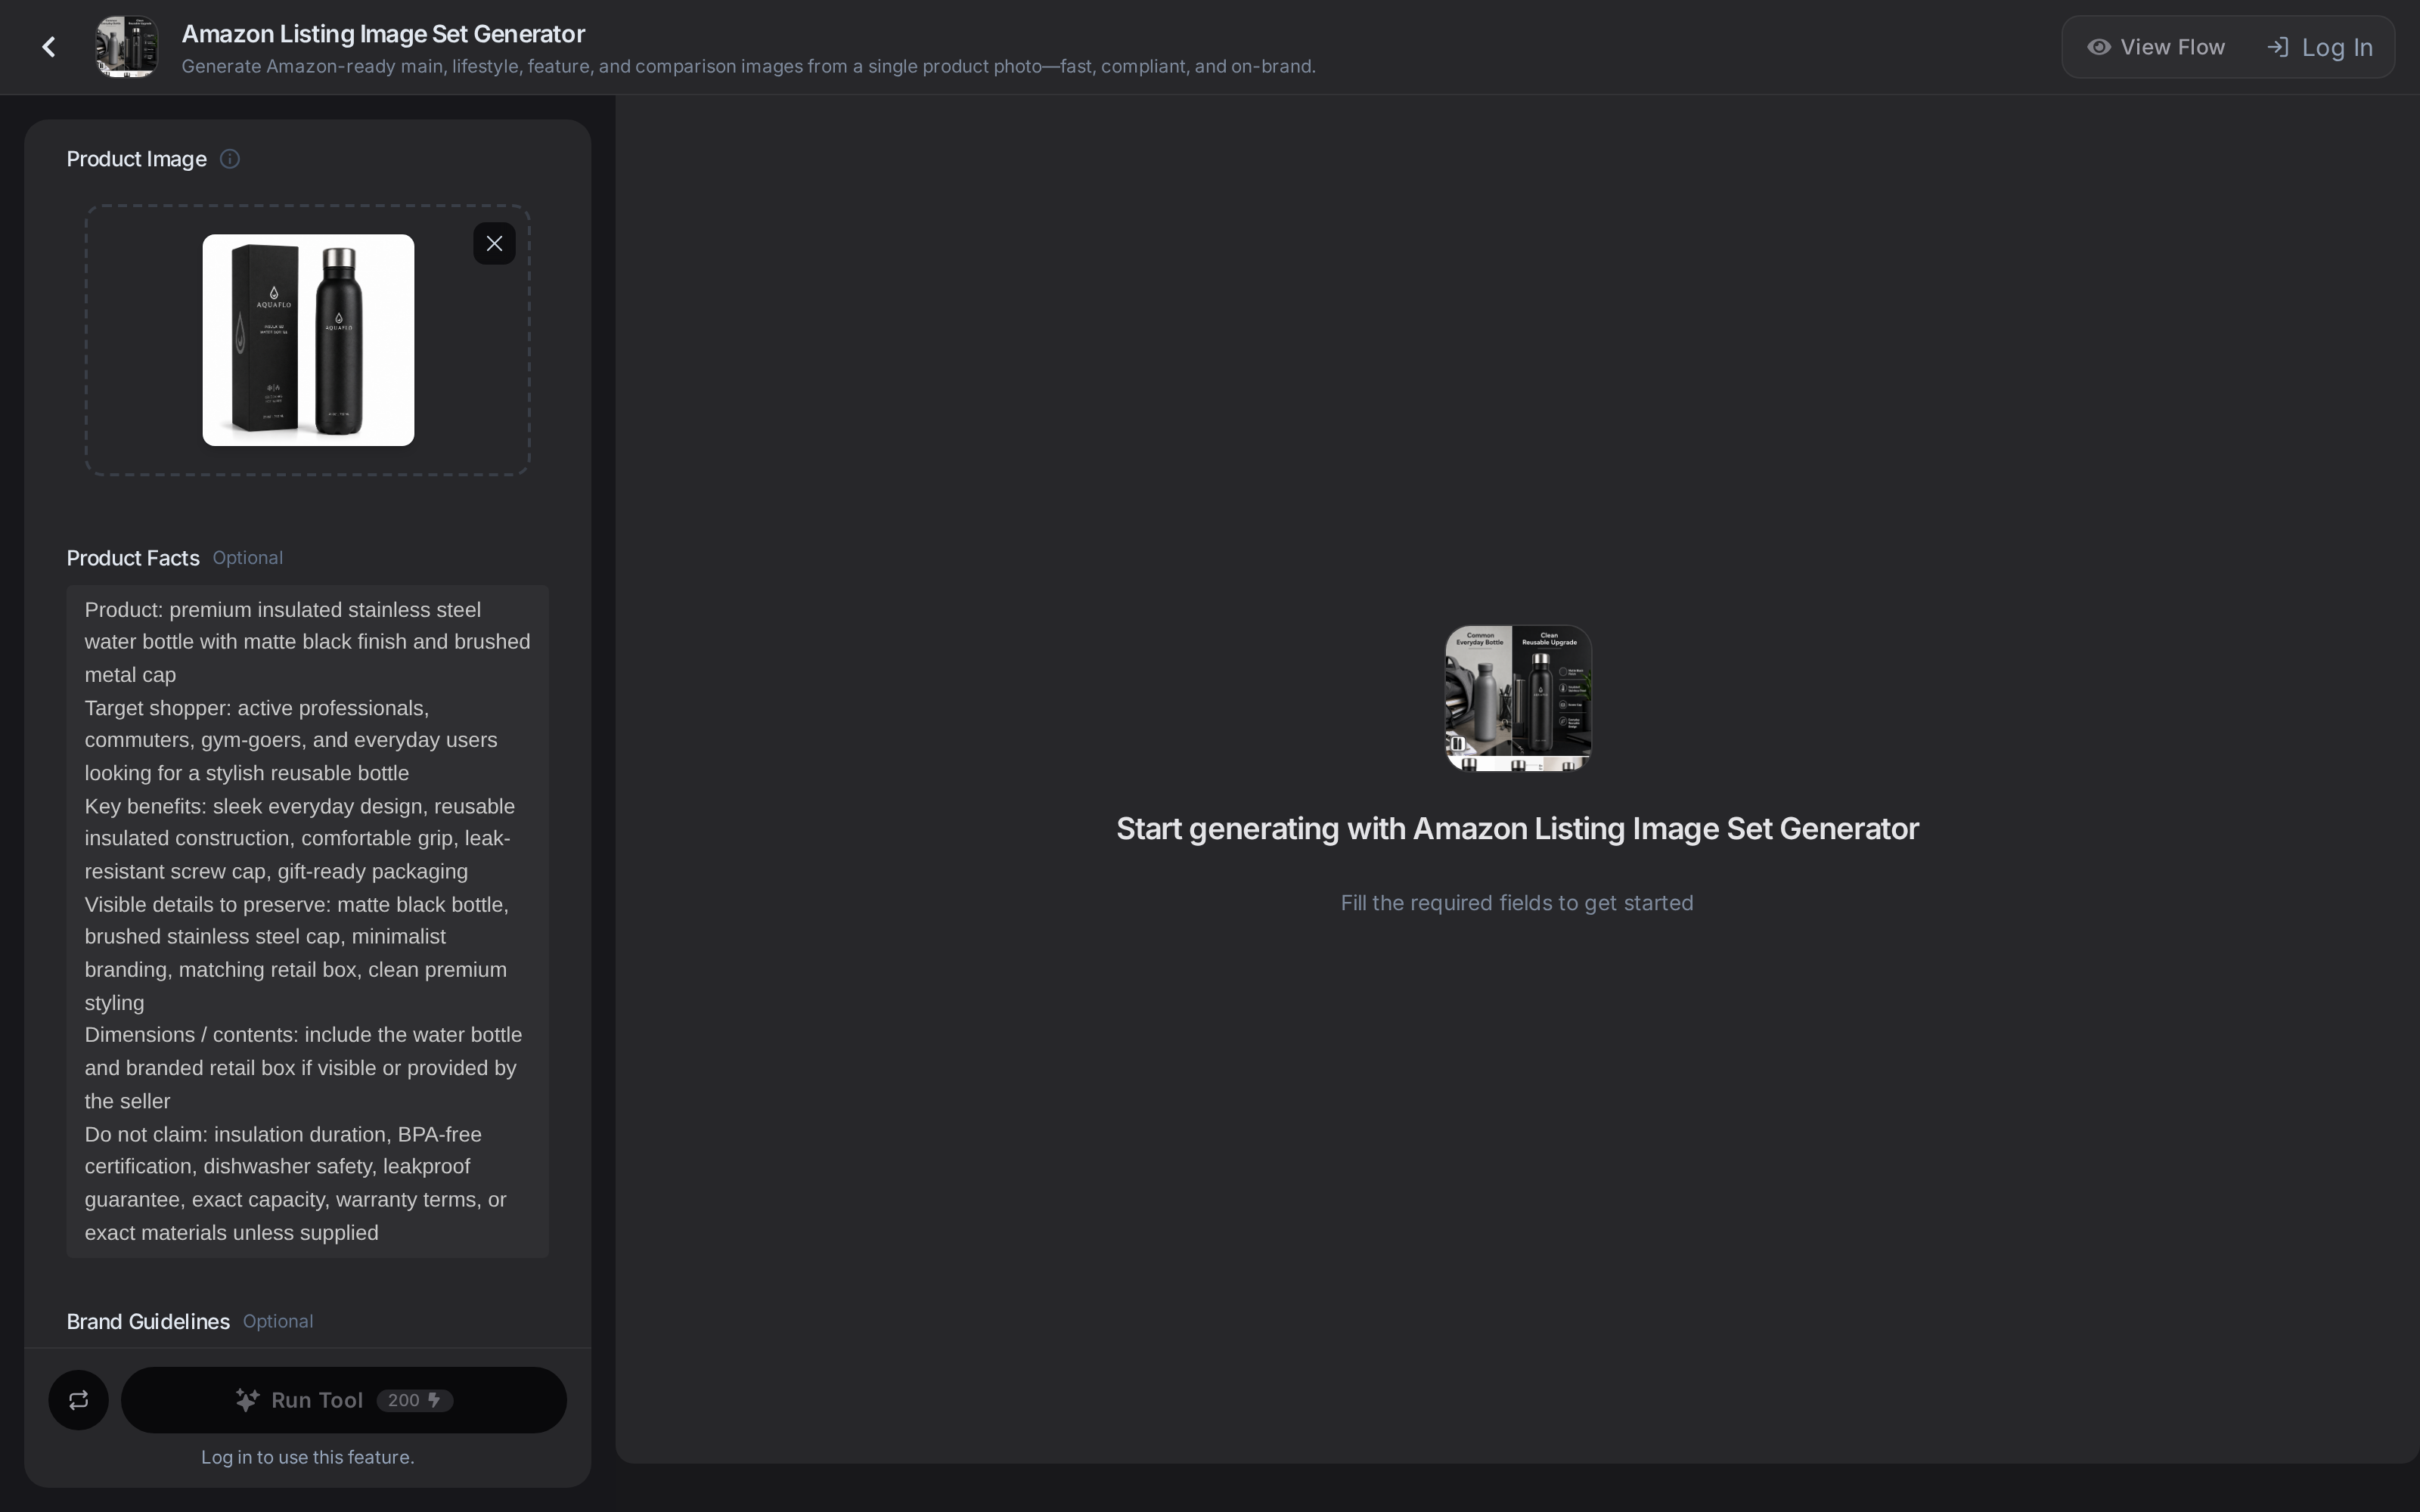
Read Apps and Instant Actions to learn about the default catalog, your own Apps, and one-click follow-up actions.
2:00 — Start from a Template
Open Templates when you want a complete workflow you can inspect and change. Select Preview on any template, then choose:
- Flow to edit the workflow on the canvas;
- App to use its simplified interface directly.
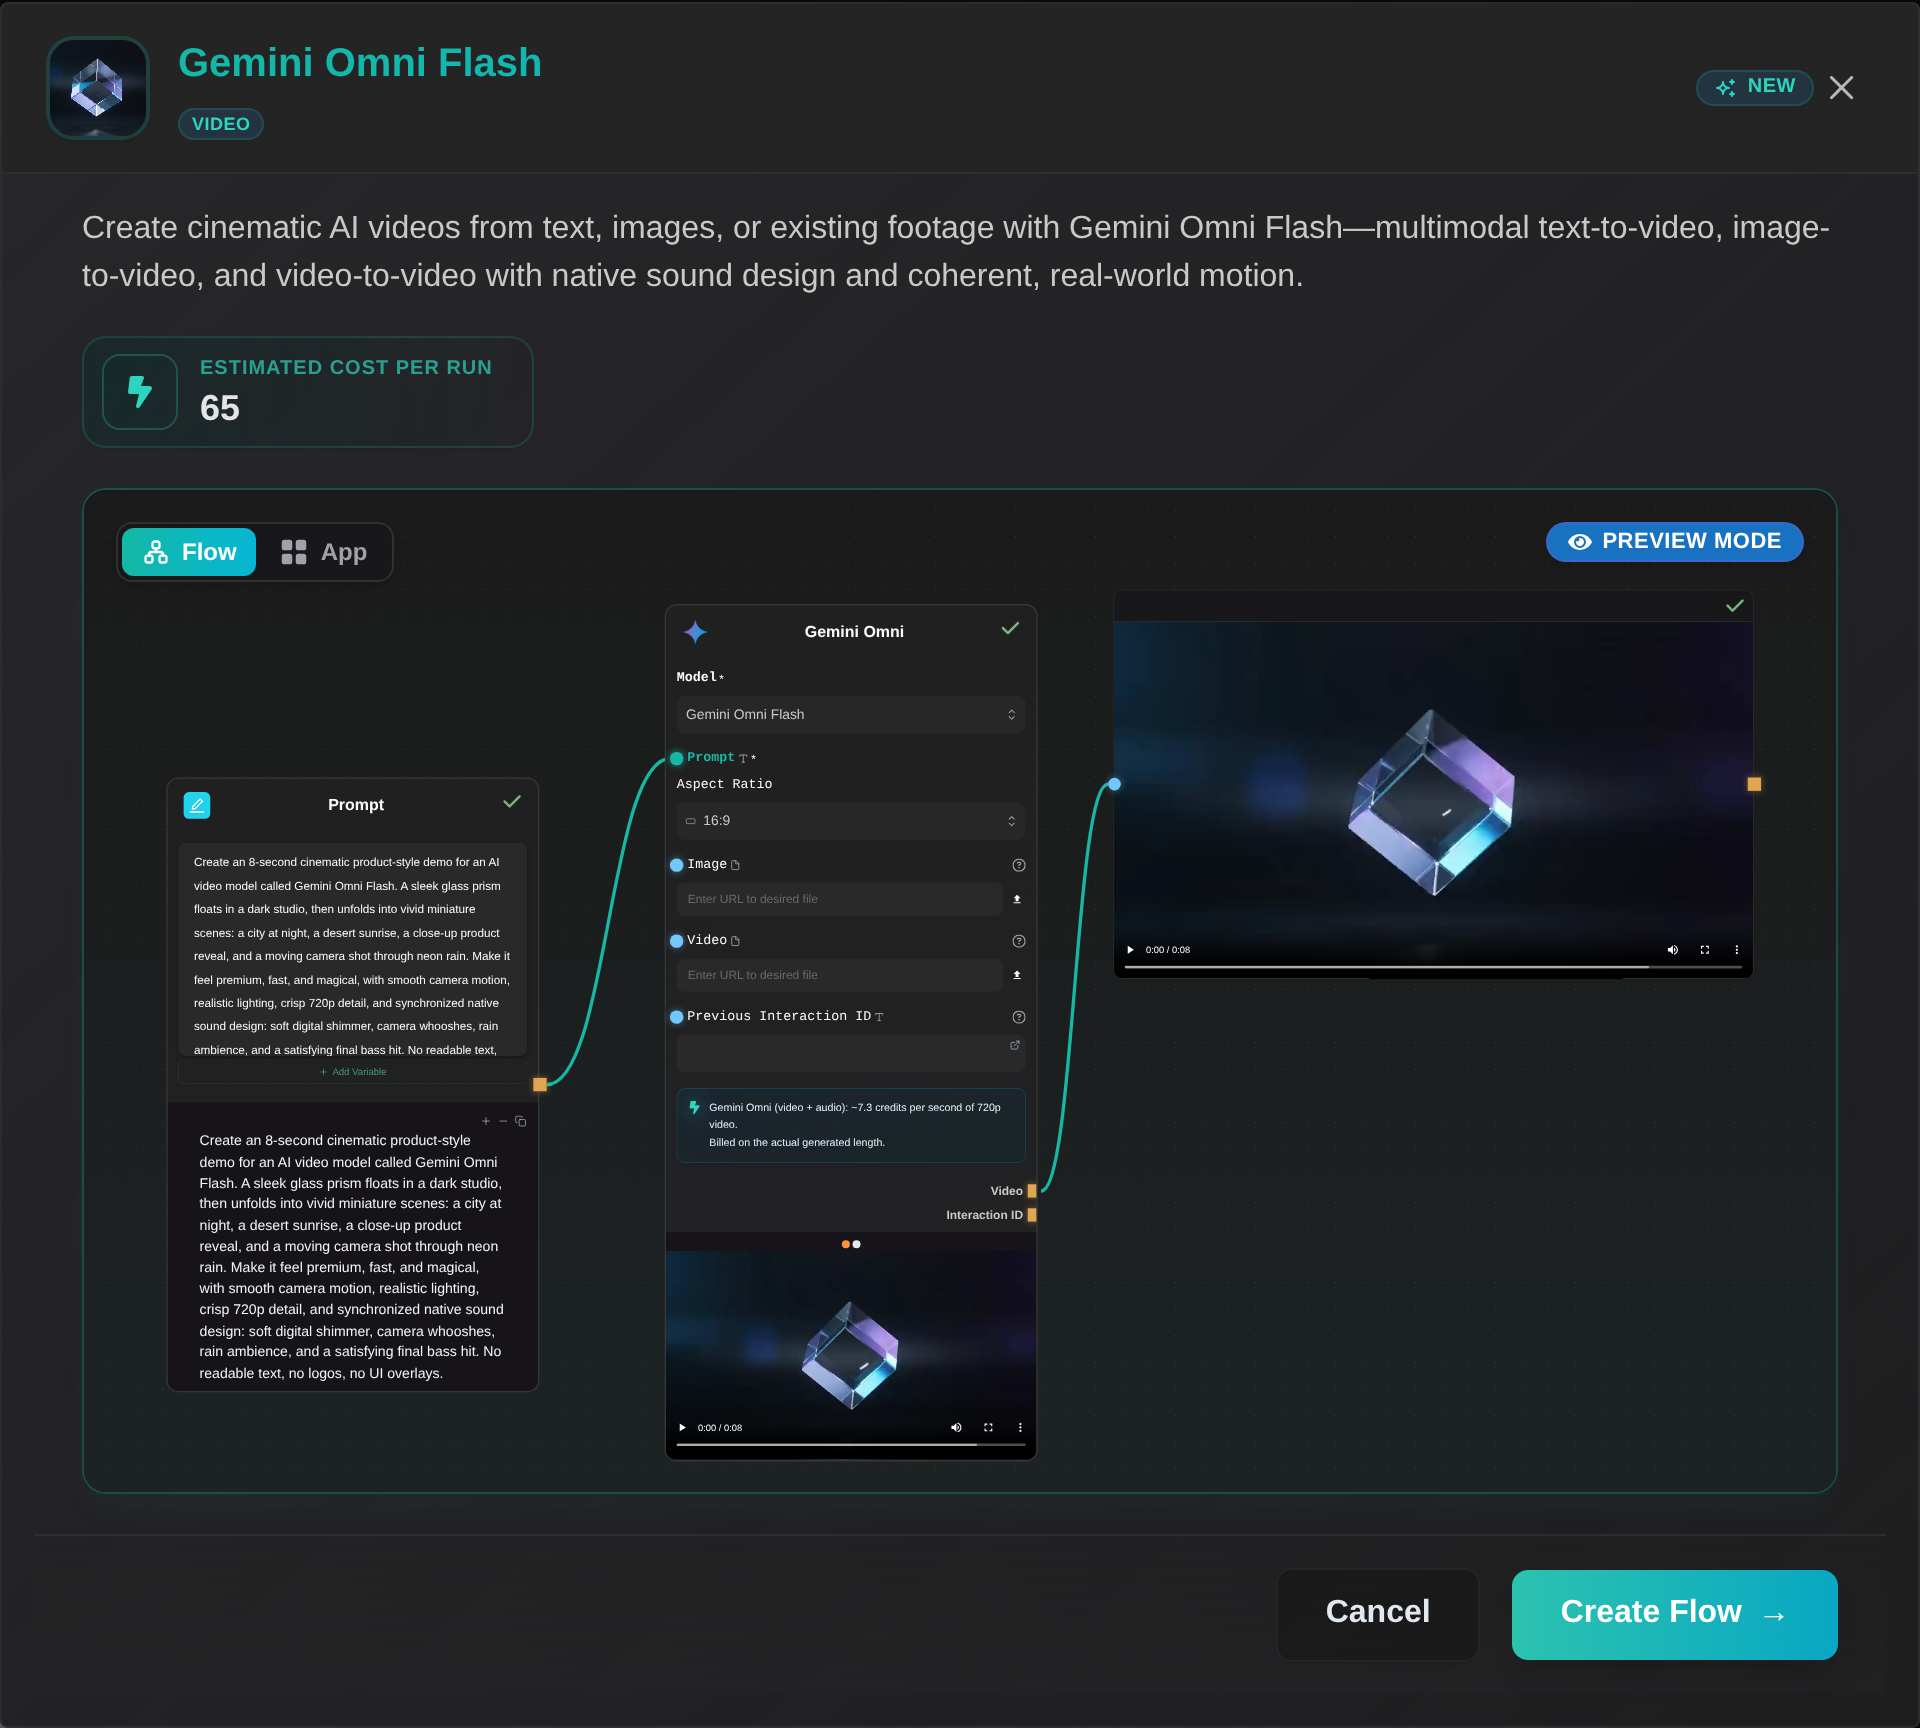
Select Create Flow to add a copy to your workspace. The original template stays unchanged, so you can experiment freely. See the Templates guide for filtering, previews, and customization.
3:00 — Read the canvas
A workflow is a graph of nodes connected by edges. Data moves from an output handle on one node to a compatible input handle on the next.
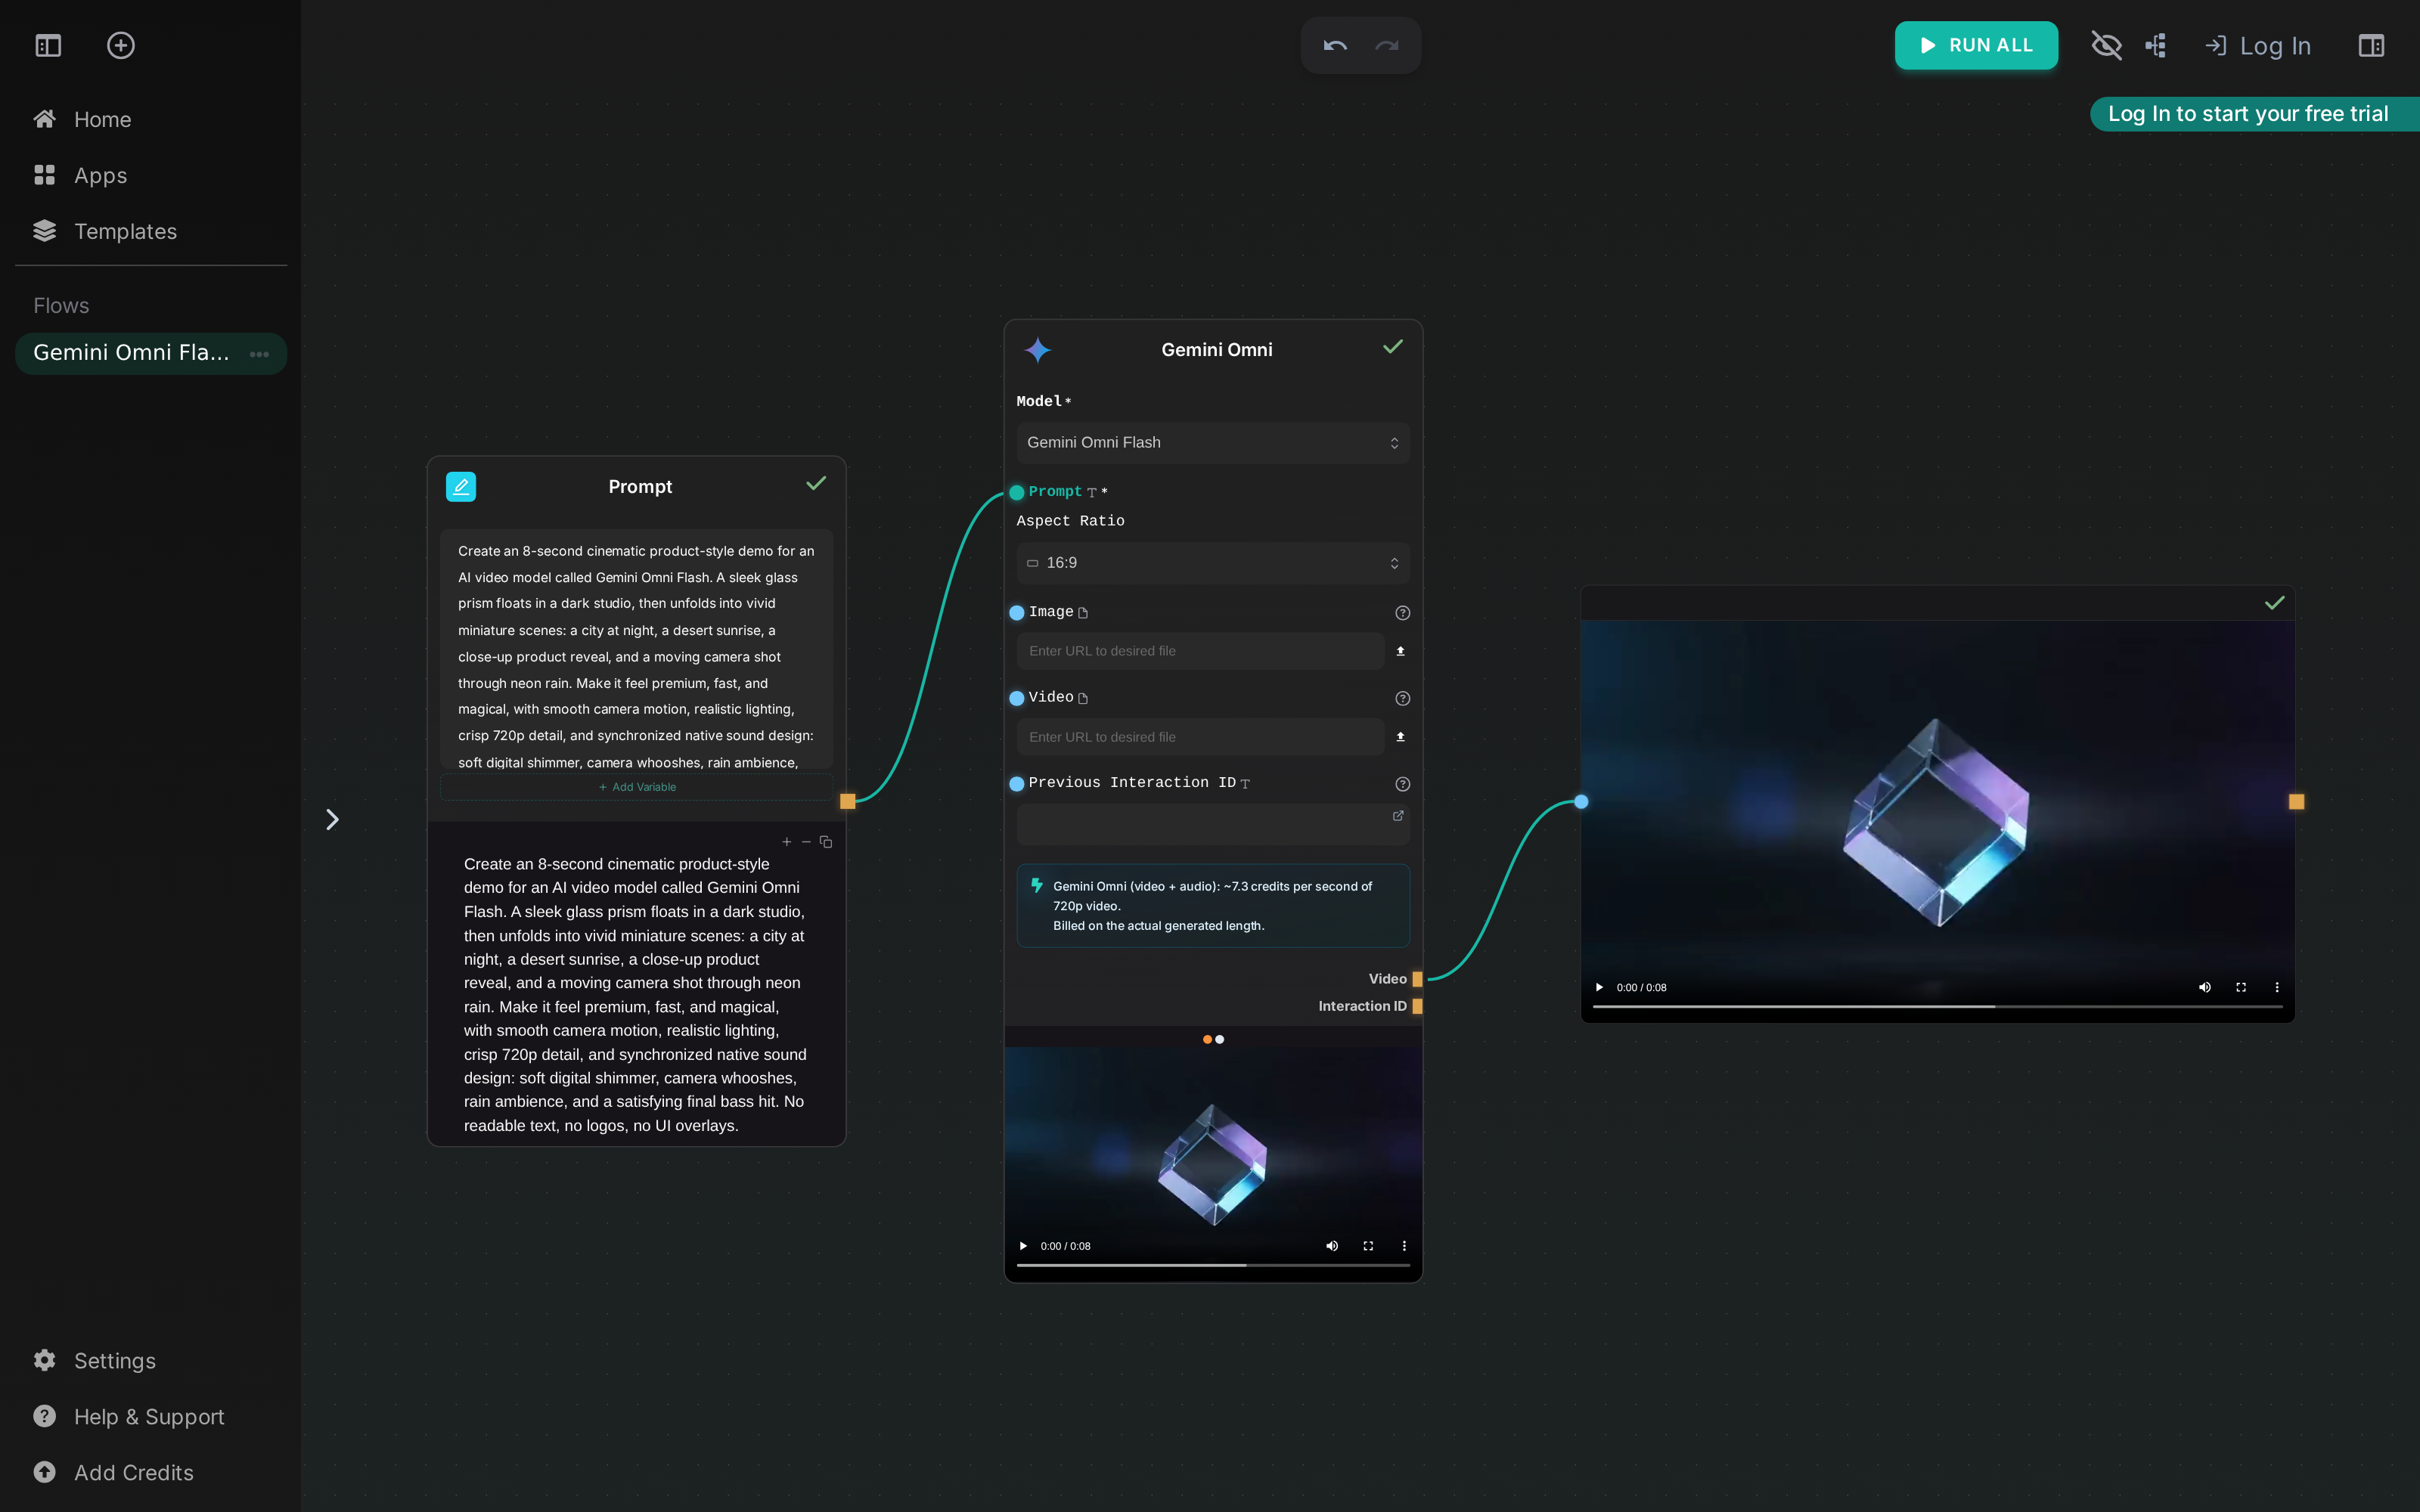
On the canvas:
- Read from left to right to follow the data path.
- Select a node to review its fields and connected inputs.
- Change a prompt or another safe input.
- Run one node while testing, or select Run All for the complete workflow.
- Inspect the output on the last node.
The How Nodes Work page explains handles, connections, field values, and execution in more detail.
4:30 — Choose credits or your own keys
AI-Flow can run supported nodes with platform credits, so BYOK is not required for your first workflow. If you already have a provider account, connect it in Settings → Secure Store. Compatible nodes then use your provider key directly.
See Bring Your Own Keys for supported providers, billing behavior, storage controls, and troubleshooting.
5:00 — Know what comes next
You now have the core mental model: Apps are simplified workflow interfaces, templates are reusable starting points, and the canvas is where you connect and customize nodes.
When you are ready, these concepts extend the same workflow graph:
| Concept | Use it when you want to… | Guide |
|---|---|---|
| Flow Inputs and Outputs | define a clean public interface for a workflow | API nodes |
| API Builder | expose a workflow through a REST API | API Builder view |
| Apps | turn a flow into a focused tool for yourself or other users | Apps |
| Subflows | reuse one workflow inside another | Subflows |
| Loops | run a node or subflow once for every item in a list | Subflow Loops |
| HTTP Request | call an external API or send a webhook | HTTP Request node |
| Instant Actions | continue from an App result with a related action | Instant Actions |
Recommended next step
- To understand the editor, continue with How Nodes Work.
- To adapt an existing use case, browse Templates.
- To build a simple end-user experience, read Apps.
- To integrate a workflow into your product, start with API Builder.